Earthworms in Gardening: Benefits, Vermicomposting & Building Healthy Soil
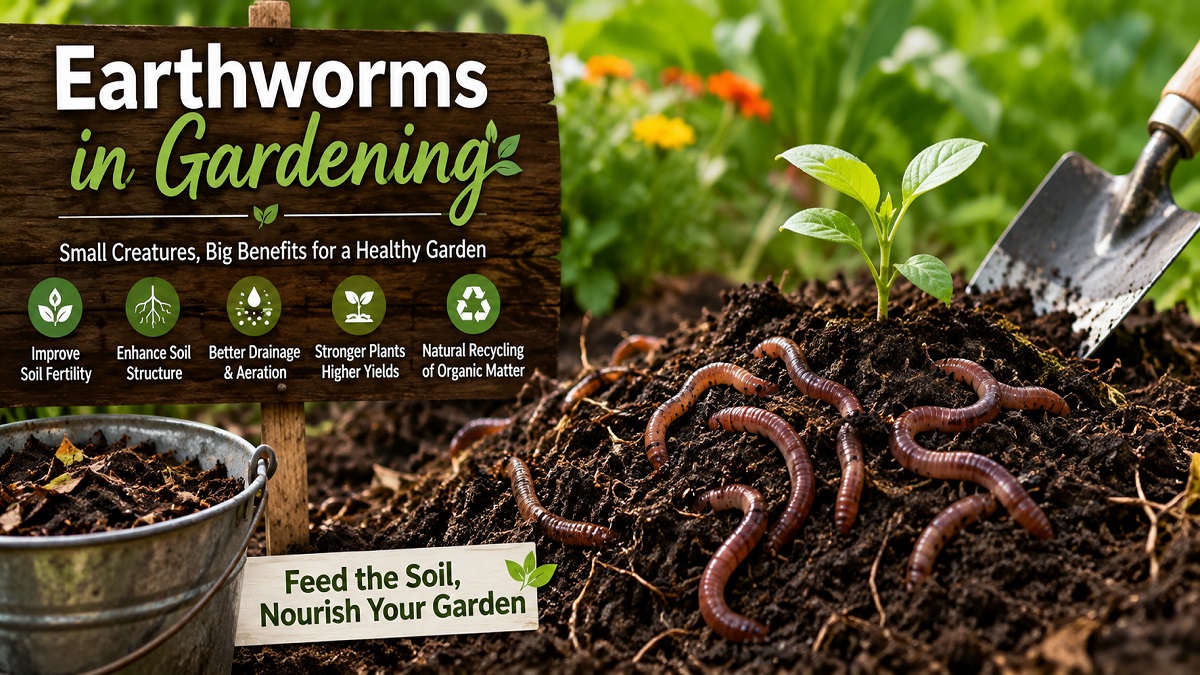
Introduction to Subterranean Architects
For centuries, traditional agriculturists and modern horticultural researchers alike have recognized a universal truth: the health of our terrestrial ecosystems relies heavily on the activity underneath our boots. Earthworms, belonging to the phylum Annelida, are widely regarded as natural tillers, biological chemical plants, and prime indicators of highly fertile environments. Charles Darwin once noted that long before human plows existed, the earth was regularly and efficiently tilled by earthworms.
Understanding how earthworms operate, the specific roles they perform within the soil food web, and how you can optimize your yard or farm to support them is critical for anyone practicing sustainable, chemical-free gardening. This guide provides a holistic breakdown of earthworm biology, their ecological classifications, methods for managing backyard vermicomposting systems, and strategies to increase wild populations naturally.
How Earthworms Transform Your Garden Ecosystem
Earthworms function simultaneously as physical soil modifiers and chemical processors. As they burrow through the subterranean strata, they actively ingest decaying leaves, root systems, manure, microbial biofilms, and microscopic minerals. When these substances pass through the earthworm's digestive tract, they undergo intense chemical and biological modifications, ultimately returning to the environment in the form of highly nutritive excretions called worm castings.
1. Nutrient Bioavailability Amplification
Plants cannot directly consume raw organic matter; they require minerals to be broken down into ionic, water-soluble molecules. Earthworm digestion serves as an accelerated composting reactor. Their intestines secrete enzymes and house a diverse, symbiotic microbiome that breaks stubborn carbon bonds down into elemental fractions.
Remarkably, standard fresh worm castings contain five times more plant-available nitrogen, seven times more soluble phosphorus, and eleven times more exchangeable potassium than the surrounding unturned topsoil. Furthermore, these castings are rich in humic acids, which act as natural chelators, binding to trace elements like iron, magnesium, and calcium to prevent them from leaching deep past your plants' root zones.
2. Soil Architecture and Aeration
Compacted, clay-heavy soils are notorious for choking out root systems and encouraging anaerobic pathogen growth. Earthworms alleviate this issue by chewing complex, long-lasting macroscopic pathways through dense substrates. These microscopic and macroscopic tunnels loosen hardpan layers without disrupting the stratified mycelial mats that sustain native fungal networks.
This dynamic tunneling improves structural porosity, dramatically increasing a soil plot's water infiltration rate. Instead of rainwater pooling on the surface, evaporating, or washing valuable topsoil away via surface erosion, it flows gracefully down earthworm pathways, filling deeper subterranean water tables and creating resilient reservoirs that plants can draw from during dry mid-summer spells.
3. Root Penetration Optimization
As deep-dwelling worms move vertically, they smooth and coat their tunnels with nutrient-dense mucus secretions rich in nitrogenous compounds. Plant roots naturally seek out these pre-formed channels. By growing down earthworm burrows, young seedlings expend significantly less physical energy pushing through dense earth, allowing them to rapidly establish deep, stable root architectures that maximize their overall nutrient uptake capacity.
Understanding Ecological Varieties: The Three Worm Classes
Not all earthworms share the same ecological niche or behaviors. From a practical horticultural perspective, these creatures are split into three distinct categories based on their feeding habits, burrow configurations, and spatial zones within the soil profile.
| Ecological Category | Primary Soil Zone | Primary Diet | Burrowing Orientation | Common Species Example |
|---|---|---|---|---|
| Epigeic | Surface litter layer (0-3 inches) | Fresh decaying organic matter | Non-burrowing (horizontal movement) | Red Wiggler (Eisenia fetida) |
| Endogeic | Upper mineral soil (2-12 inches) | Organo-mineral soil complexes | Horizontal, shifting tunnels | Grey Worm (Aporrectodea caliginosa) |
| Anecic | Deep subsoil (up to 6+ feet) | Surface debris pulled deep down | Permanent, vertical shafts | Nightcrawler (Lumbricus terrestris) |
Epigeic Worms: The Surface Waste Shredders
Epigeic species live exclusively above the mineral soil line, thriving inside thick layers of leaf litter, decaying forest debris, or compost piles. These worms do not form true permanent burrows. Instead, they navigate horizontally through loose materials, consuming massive amounts of raw organic waste every day. They reproduce remarkably fast, making them the absolute gold standard for focused home vermicomposting systems. They cannot survive long in plain, compacted mineral soil devoid of organic matter.
Endogeic Worms: The Subsurface Mixers
Endogeic earthworms inhabit the upper layers of mineral soil. They rarely venture onto the surface, choosing instead to live in constantly shifting horizontal pathways. Their diet consists primarily of degraded organic residues that have already merged with soil minerals. Through their continuous ingestion and excretion cycles, they create aggregate crumb structures that give healthy topsoil its desirable, spongy texture.
Anecic Worms: The Deep-Dwelling Subsoil Tillers
Anecic worms are the massive, muscular powerhouses of the soil world, represented perfectly by the common nightcrawler. They construct permanent, vertical tunnels that penetrate several feet down into the earth. At night, they emerge at the surface to gather large leaves, twigs, and plant debris, dragging them down into their shafts to decompose before consumption. Their deep vertical shafts act as vital drainage vents during heavy rain storms.
Setting Up and Managing a High-Yield Home Vermicomposting System
If your garden soil is currently depleted or clay-heavy, relying solely on wild populations can take years. By running a home vermicomposting bin, you can generate gallons of highly concentrated worm castings right in your garage, basement, or shaded patio.
Step 1: Container Selection and Ventilation
You can purchase multi-tiered commercial worm farms or craft a functional DIY setup using standard opaque plastic storage bins (roughly 10 to 18 gallons in size). Ensure the container is entirely opaque, as earthworms are highly sensitive to light and will stop feeding if exposed to light sources. Drill a series of 1/4-inch drainage holes along the bottom floor and ventilation holes along the upper side rim to encourage adequate oxygen circulation.
Step 2: Preparing the Carbon Bedding Layer
Worms require a moist, structural bedding environment that mimics damp forest leaf litter. Excellent choices include shredded non-glossy newsprint, unbleached corrugated cardboard, shredded fallen leaves, or rehydrated coconut coir. Submerge your chosen bedding material in water, wring it out completely until it feels like a damp, well-wrung sponge (roughly 70% moisture content), and fill the bin loosely to a depth of 6 to 8 inches.
Step 3: Populating Your Bin
For processing domestic food waste, order red wigglers (Eisenia fetida) from a reputable organic supplier rather than digging up wild garden nightcrawlers. A standard starter population of one pound (approximately 1,000 individual worms) is perfect for handling typical weekly kitchen scraps from a two-person home ecosystem.
Step 4: Feeding Protocol (The Do's and Don'ts)
Worms feed primarily on the microscopic fungi and bacteria decomposing your kitchen waste rather than the hard food scraps themselves. Finely chopping or freezing and thawing materials beforehand breaks down cell walls, allowing worms to process food much quicker. Bury the food beneath the bedding layer to prevent fruit fly infestations.
- Ideal Foods: Vegetable trimmings, fruit peels, crushed eggshells (which supply vital calcium for cocoon production), used coffee grounds, and loose tea leaves.
- Items to Avoid: Citrus peels (limonene oils are toxic to worms), heavy alliums like onions and garlic, meats, dairy, oils/fats (which create foul smells and block oxygen transfer), and pet manures.
Cultivating Wild Earthworm Populations in Your Garden Beds
If you want to transition your garden into a self-sustaining earthworm haven without buying bins, you need to deliberately alter your land management practices. Earthworms will voluntarily migrate to and multiply in spaces that provide them with consistent food, moisture, and shelter from environmental extremes.
1. Adopt a Non-Invasive No-Till Approach
Mechanical rototilling is one of the most destructive disruptions you can introduce into a living soil ecosystem. Tillage physically slices and kills deep-dwelling anecic nightcrawlers, collapses their delicate, permanent vertical pathways, and introduces large amounts of oxygen that rapidly burns through remaining organic matter reserves. Switch instead to a "No-Till" or sheet-mulching philosophy, allowing natural biological processes to turn the soil for you.
2. Maintain Deep Organo-Mineral Mulches
Bare, exposed soil behaves like a desert under intense summer sun rays or heavy wind. Earthworms require a highly humid, ambient layer to breathe through their specialized skin surfaces. Keep your growing beds continually blanketed with a 3- to 4-inch layer of organic mulch, such as clean straw, wood chips, shredded leaves, or finished compost. This mulch retains vital moisture, regulates soil temperature extremes, and serves as a continuous, slowly decomposing buffet for epigeic and anecic worms.
3. Eliminate Synthetic Salt-Based Fertilizers and Chemical Pesticides
Synthetic chemical fertilizers are composed of concentrated mineral salts. When these salts enter the soil solution, they pull moisture away from surrounding biological tissues via osmotic pressure, causing severe skin irritation, desiccation, and chemical burns to earthworms. Similarly, broad-spectrum chemical insecticides, herbicides, and synthetic fungicides decimate the underlying microbial balance that worms rely on for pre-digesting their food supplies. Shift completely to organic plant meals, kelp extracts, and thermophilic composts.